

How to Install Door Trim (Finish Carpentry)
Installing door trim might seem intimidating at first, but once you understand how it goes together, along with a few tips, you'll have the knowledge to tackle your project. I'll explain how to install trim on the closet doors of our current bedroom remodelling project (see this project series in our Bedroom Remodel YouTube Playlist). This trim adds a lot of character to the space as it's made from 5 different pieces of moulding.
The first step to installing door trim is to cut the trim down to manageable pieces. For a quick tip, you can use a phone to take photos of the measurement instead of writing it down. It saves time and there's no potential to mix up measurements. Once the trim (referred to as "casing") and top board are cut slightly over size, it's time to hold them in place to get accurate measurements.

The installation process starts with the plinth blocks at the bottom of the door frame. This is where the baseboard transitions into the door trim. These plinth blocks are 1 inch thick, the same width of the casing, and the height of the baseboard. The plinth blocks are nailed in place using a 2 inch finishing nailer. If you're using traditional nails, drill holes for the nails through the plinth blocks to make it easier to nail them in place.
Once the plinth blocks are installed, it's time to measure the final length of the casing. The key part of this is that the reveal (distance between the edge of the casing and the edge of the door jamb) is marked on the door jamb. As shown in the video, a combination square is the perfect tool for this job. Simply measure the distance at one of the hinges with the casing held in place and lock in the ruler. Then take the combination square and mark the distance at the top corner of the door jamb. Hold the casing in place and transfer this measurement to the casing and cut them to length on the miter saw.
Install the casing with 2 inch finishing nails to ensure you have enough nail to go through the drywall and into the framing (the studs that make up the wall).
The top cap is made up of three parts; the header, a 1/2 round trim, and a small crown moulding. For this closet, because the trim runs into the wall, this is built in place to ensure a tight fit against the wall. In an upcoming video, this cap detail will be built in once piece and then installed. The first step is to cut the header to length on the miter saw. For the end that touches the wall, it has a 5 degree back bevel to ensure the rounded corner of the drywall doesn't interfere with the fit. This is nailed in place with 2 inch nails.

The next step is to measure and cut the 1/2 round trim and the small crown moulding to length. It's best to hold these in place and mark the cut line. When cutting the small crown moulding on the miter saw, it must be cut upside down. It will also rock slightly as the angle on the back is slightly less than 90 degrees. Hold the trim against the miter saw fence in the approximate middle of the rocking motion (refer to the video) when cutting the moulding.
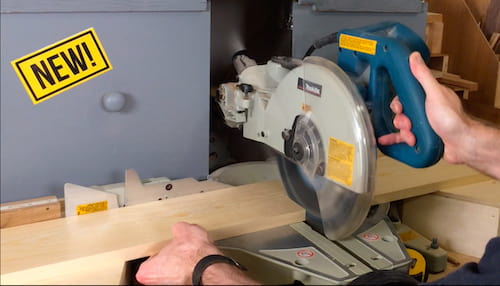
To control the dust from the miter saw, this miter saw dust collection hood pulls the dust away from the saw and into the dust collector. Plans are available for this miter saw dust collection hood as well as a YouTube video
 https://woodenitbenice.ca/products/miter-saw-dust-collection-hood-plan
At the end of the cap, the moulding wraps around the side - this is called the "return". These are small parts to cut. Measure the thickness of the header and cut the parts on the miter saw (cutting the small parts off of a large piece to keep your fingers away from the saw blade).
To install the 1/2 round molding on the bottom of the cap, woodworking clamps are helpful to manage the moulding by yourself. By clamping the clamps on the top and bottom of the header, the 1/2 round has somewhere to sit. Test fit the moulding with the return piece and adjust the cuts if needed. Once you're happy with the fit, glue the return on to the 1/2 round using CA glue and an activator as it will bond in 5-10 seconds. The last step is to use carpenter's glue and a brad nailer to install the assembled trim.
Get 10% off Starbond CA glue using the coupon code "WIBN". Purchases made with this link help support our video production work.

For the small crown, repeat the same steps used for the 1/2 round trim, with one exception. There isn't a natural way to line up the location of the moulding. Measure and mark the distance between the installed 1/2 round moulding and where the small crown would be installed. An easy way to do this is to cut a small block of wood or cardboard and us that to hold in place to draw your installation line in several locations. Glue on the return with CA glue, then use carpenter's glue and nails to install the small crown
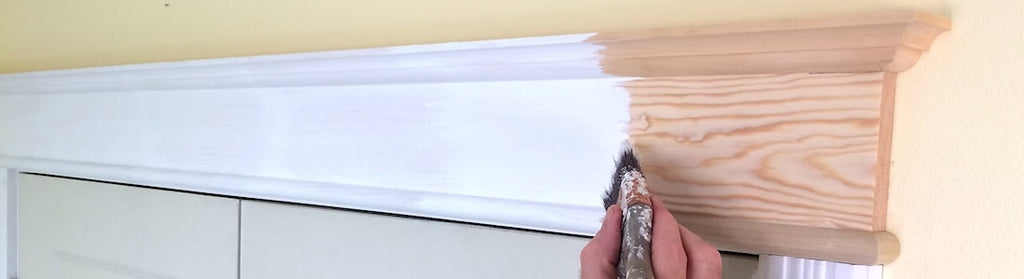
Now you're ready to fill the nail holes, sand the 1/2 round at the bottom of the cap, sand the miter joints, and prime the cap. With one final sanding of the primer, you're all ready to apply semi-gloss paint to the trim and admire your work.